In 2016, Apple innovated and launched together with the iPhone 7, a new model of iPhone with two rear cameras, the iPhone 7 Plus. With this release, the company introduced the popular Portrait mode, a feature that uses the iPhones' two cameras to create a depth-of-field effect. Since then, portrait mode has been present on all newer dual-camera iPhones. The exception is the iPhone XR, which only has a rear camera but portrait mode is present digitally. However, those who have older iPhones can also create photos with a blurred background. In this tutorial, you will learn to take portrait mode photos on old iPhone.
First, we must clear up some doubts from users. Yes, it is possible to use portrait mode on older iPhones (with a camera) through third-party apps. Although the result is not exactly the same as the native portrait mode of current iPhones, it is very similar. Because they don't have a second lens, it's impossible to take a picture in portrait mode natively. On iPhones with two and 3 cameras (iPhone 11 Pro and 11Pro Max), the effect takes place optically and natively.
How to take portrait mode photos on old iPhone
To get blurry background photos on older iPhones, there are a few more steps you need to take than just snapping the photo and sharing it. For this tutorial, we will be using the TADAA - HD Pro Camera & Blur app, which is excellent. It recognizes the objects that need to be focused and does almost the entire background blurring process automatically. Below you can see the step by step teaching how to use TADAA - HD Pro Camera & Blur:
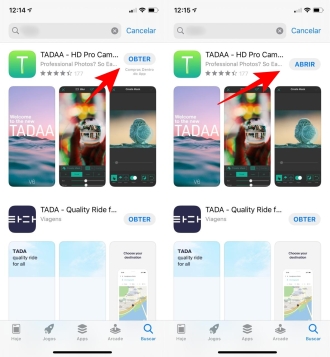
Step 1
Enter the App Store on your iPhone, download and install TADAA - HD Pro Camera & Blur.
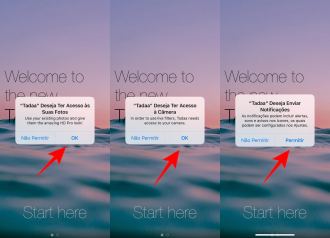
Step 2
When opening the app, grant the necessary permissions to have access to your camera, photos and notifications.
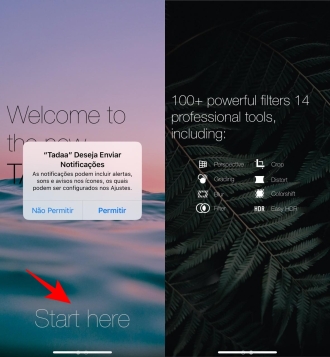
Step 3
After granting the permissions, tap on the ''Start Here'' option and proceed with the explanations about the application.
Step 4
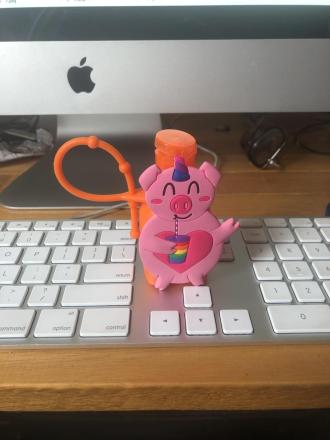
Take a photo or choose the photo you want to apply background blur from the photo gallery.
Step 5
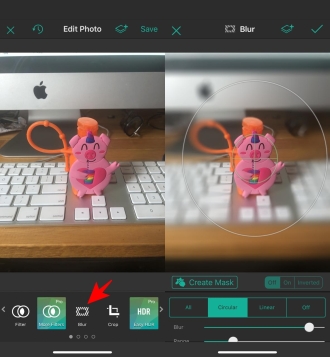
After uploading the photo, choose the ''Blur'' effect option. Then adjust the object that should be in focus in the image.
Step 6
Once the adjustments are made, press the ''V'' icon to confirm and then press ''Save''.
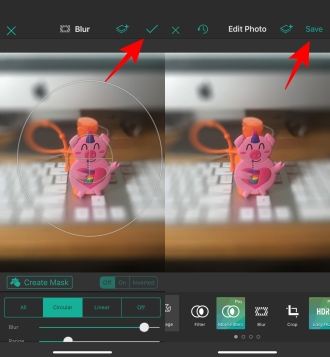
Okay, now you have your portrait-style photo ready to be shared on your social networks. To share, just click on the icon in the upper right corner of the screen.
With the use of this application, you can get around the absence of portrait mode on your older iPhone, and you can edit several spectacular photos to use this incredible effect.
There are several other apps for this function, but the one shown in the tutorial above is free and does what it promises. In this way, it is the most recommended for you who have an older iPhone and want to take pictures in portrait mode.
So, did you like our tutorial teaching you how to take portrait mode photos on old iPhone?