Do you have more than one Windows computer at home? How about then creating a homegroup, to share your files and even the printer? With this tool, you can quickly and securely share your files, without the need to use flash drives or other tools, all done without a program and through the network itself.
To configure your home network, follow the steps below:
Step 1
Open Control panel, patch me Network and Internet>HomeGroup. Or just search for Domestic Group in the Windows search bar.
Step 2
Please click Create a HomeGroup, in the window that opens, click next, and then select which types of files you want Share, if you don't want to share something just mark it as not shared. Once chosen, just go ahead and Windows will create the homegroup.
Step 3
After creating the homegroup, a password will be provided, it is recommended to write it down, as it will be necessary for the other computers to join your home network.
Join the Homegroup
Once the homegroup is created, you need to add your other Windows devices to it. For this, it is first necessary that the other computers are connected to the same network. Then you must connect them to the workgroup.
Step 4
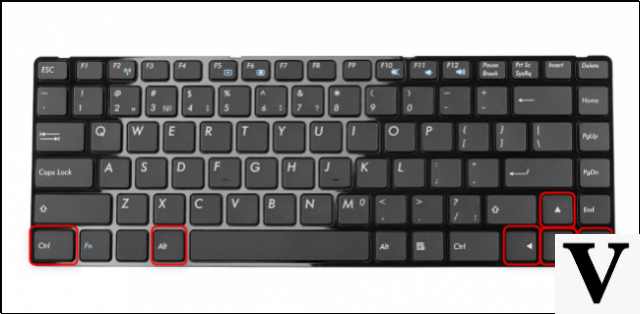
For this you need to access the tab System, right-clicking on My computer and going on Properties. Or using the shortcut Win + Pause Break. After that you should note the name of the Work group. It must be the same on both computers.
Step 5
If the name is different, you must change it, just click on Change settings. In the new window, click Alter to change the name of Work group. After renaming it will be necessary to restart the computer.
Step 6
After the computer restarts, you must access Control Panel>Network and Internet> HomeGroup and then click to join homegroup.
Then just choose again what you want to share, and confirm. The next step is to add the homegroup password, which was previously provided by the system. After that you are already part of the homegroup.
Now to access the shared files just open the Explore, navigate to Domestic Group and enter the computer where you want to transfer or copy files.