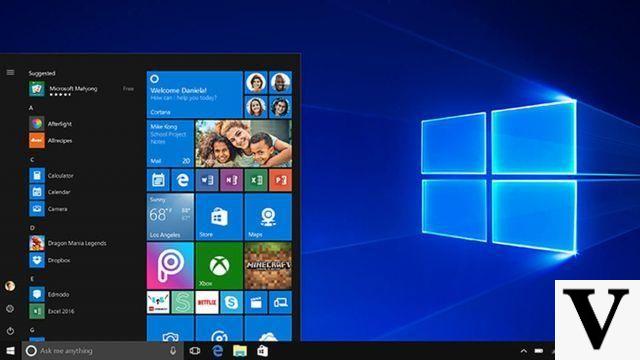
Are you wanting to install Windows 10 on one or more machines but don't know how to do it? No problem, the process is very simple and we will teach you step-by-step how to do it.
If you have any during or at the end of the tutorial, no problem, you can ask us in the comments and we will answer whenever possible, ok? But without further ado, let's teach you how to install windows 10 for free.
- How to mirror Android phone screen to computer? (2022)
- Video: How to solve 100% disk consumption problem in Windows
How to INSTALL Windows 10 FREE
Let's break the tutorial down into steps to make it easier for you, okay? Come on.
Purchase a Pendrive of at least 8 GB
The first thing you'll need is a flash drive of at least 8GB, but we recommend a 16GB model for ease (and the price is worth it, too). The data on this flash drive will be erased during the tutorial, so save any important files.
Download the Installation Tool
This step is very simple, just go to this link and click Download the tool now to download it, it is a very small file and should take a few seconds to download, this of course will depend on your internet speed. If the above link doesn't work just type it into Google Download Windows 10 and enter the Microsoft website link.
Open the Media Creation Tool and follow the steps
The name of the tool you just downloaded is called Media Creation Tool, let's open it to follow the next steps of the tutorial.
On the first screen, just click Accept ou Accept, this will change depending on the language your machine is using.
After accepting the terms, the tool will begin to organize the processes to create a Windows 10 Installation media. On this second page you should select the second option to create a Windows 10 Installation media, the first option will just update your PC.
On the third page, uncheck the option with Blue text and select your language preferences and Windows version (32 or 64 Bits), I recommend choosing both options if you want to use it on older machines, if your machine is very recent, then select the 64 bit option.
On the fourth tab you must select the first option to choose your pendrive to create the Windows installation media, remember to connect the flash drive to the PC before moving on to the next stage.
Here you should see your drive connected to the computer, if it doesn't appear, no problem, just click on Refresh List or Update List and it should appear. If you have more than one USB flash drive or external HD/SSD connected to your computer, I recommend disconnecting it.
From here the tool will start to download the necessary files and turn your flash drive into a Windows 10 installation media, there is nothing else to do but wait for this process to complete. Ah, you can use your PC normally while the tool is doing the tasks.
When the process is complete, just click on Finish ou End.
Restart the PC and select the Pendrive as the Main Boot in the BIOS
The next step is to restart the PC, while it restarts is important keep pressing the Delete key repeatedly ou From on your keyboard for it to enter the BIOS, that's where we select the boot device order.
When entering the BIOS, find the tab Boot and find where is located the Boot Option 1 or Boot Option 1 or something like this, this is where you select your USB stick to start installing Windows.
After selecting your USB stick as the primary boot option, simply press the F10 button on your keyboard, a message will appear on your screen, click Ok and the computer must restart again.
Installing Windows 10
Now that we have selected our USB stick as the primary Boot option, we will start installing Windows 10. In our case, we were given the option to choose 32-Bits or 64-Bits installation, as I mentioned at the beginning of the Tutorial. We will choose the 64-Bit option.
After selecting the desired option above, we will start the installation. The language options were already chosen at the beginning of our tutorial by the Media Creation Tool, so here there shouldn't be anything that we have to change, click Continue.
On the second tab, just click Install now ou install Now.
On the third page the installer will ask for the Windows key, if you have purchased a license, this is where you must enter the code, if you have not purchased it, no problem, just select the option I don't have a product key ou I don't have a product key that the installation will proceed normally.
In this panel we will find a list of Windows versions, the most suitable is Home because it has most of the necessary drivers already integrated into Windows, but you can also select other versions if necessary for your use, in our case we went with Home.
Just accept the License Terms and click next.
Here it is extremely important to select the second option what is Custom Install, because only then will you be able to install Windows 10 from scratch.
Here we come to the last tab of the installation, this is where you choose the HD / SSD where Windows will be installed. If you have multiple drives on your PC, you will need to pay attention to which one you will select for installation.. In our case, the drive chosen is Drive 1 with 931.5 GB, but in your case it could be Drive 0 or Drive 2, for example, so pay close attention to make the correct selection.
When selecting our drive, let's click on New to create an installation partition and get it ready for installation. The amount of space is already correct in the part Size, then no change is needed. click in Apply to create the partition, the installer will show a window warning you about creating a new small partition for extra files, just click on Ok.
From there, just select again the same drive that we just created the partition and click Next to start the installation process.
Here just let the installation process complete everything necessary, if the computer restarts and goes back to the installation screen, no problem, it is normal for this to happen. If it looks like it has "reset" the entire process and is asking you to make your selections again, it means that Windows has already been installed, you can deselect and go to the next step.
Select New Windows as Main Boot
Now that we've installed Windows, we just have to go back to the BIOS and select our HD/SSD as the primary boot option. The next step is to restart the PC, while it restarts is important keep pressing the Delete key repeatedly ou From on your keyboard for it to enter the BIOS, that's where we select the boot device order.
When entering the BIOS, find the tab Boot and find where is located the Boot Option 1 or Boot Option 1 or something like this, this is where you select back your HD/SSD to become your primary boot option again.
After selecting your HD/SSD as the primary boot option, simply press the F10 button on your keyboard, a message will appear on your screen, click Ok and the computer must restart again.
Ready!
Now you have Windows 10 installed on your machine completely free of charge and without any type of piracy. Just start - or restart - your PC and set everything up to use. Did you have any doubts? Comment below and we will try to help you in everything possible!