Windows notebooks default to going into sleep mode when you close the lid. Under most conditions, this makes a lot of sense. You're browsing the internet from work, for example, and it's time to go home. So you close your laptop and put it in your bag. It goes to sleep, saving battery power and giving it a chance to cool down while you travel. But many times you may want it to stay on with the lid closed. For example, if you are doing large downloads and want to go to sleep. It would be nice to be able to leave your PC on, downloading your files, with the lid closed (for protection purposes), wouldn't it? Well, know that this is possible, just follow our tutorial on how to keep the notebook on with the lid closed.
By changing the settings, you can program your computer to sleep, shut down, or stay on when you close the lid.
How to keep the notebook on with the lid closed?
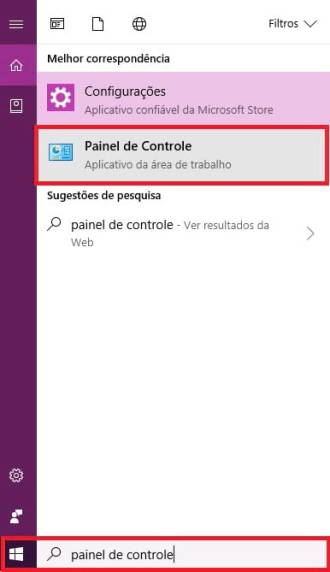
Step 1. Click on the start menu and search for "Control Panel", click on this option;
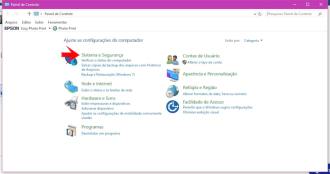
Step 2. Now, click on "System and Security";
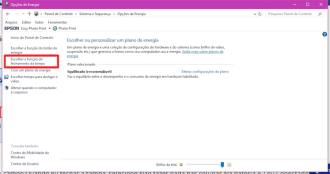
Step 3. Click on "Power Options";
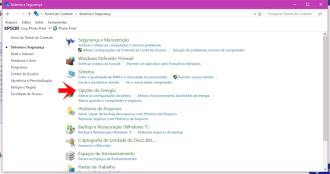
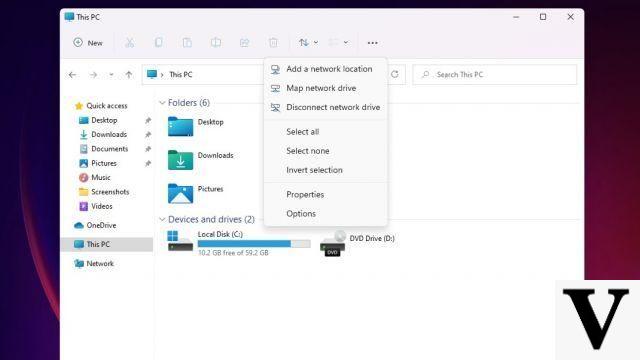
Step 4. In the side menu, click on the option "Choose the lid closing function";
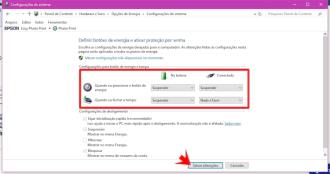
Step 5. Now, all you need to do is configure the notebook cover closing options. It is usually set to "suspend" as this is the default option. If you select the option "Do nothing", your notebook will be prevented from entering sleep or other idle modes. It will continue to function normally when you close the notebook. You can set the notebook to suspend, hibernate, shut down, or do nothing when it is plugged into an electrical outlet and when it is draining its own battery. After leaving the settings to your liking, click on the "Save" option.
How to keep laptop screen always on
If your notebook goes into sleep mode by itself after a while without use, even with the lid open, here's how to change the settings so that your notebook has the screen always on.
Step 1. In Control Panel > System and Security > Power Options, click on the option "Change plan settings";
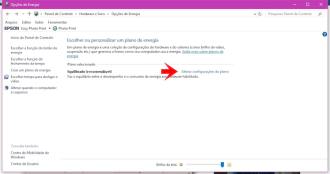
Step 2. Now configure the options to your liking and then click "Save";

And then, were you able to configure the settings for your notebook to stay on?