Reels are the perfect opportunity to broaden your reach, increase engagement, and build your Instagram community. Its popularity is undeniable. However, creating Instagram reels takes time, skill, and effort. Because of that, in this article, we're going to help you tap into the power of reels. In addition, we will teach you how to create your own, and thus, make your reels more attractive and interesting to your audience.
How to disconnect Instagram from Facebook?What are Instagram reels?
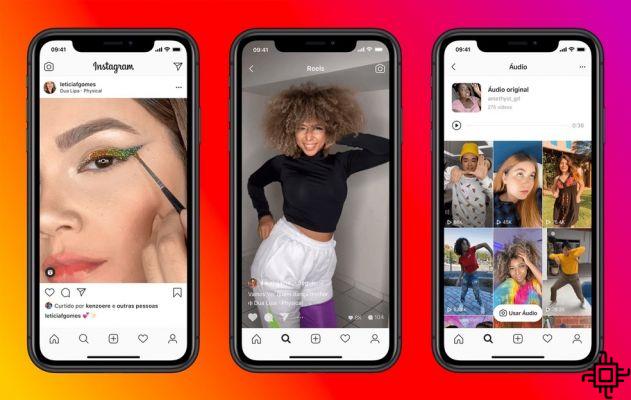
Instagram reels are fun and short videos to share fun, educational and inspiring content in the app. Similar to TikTok, reels are displayed in a vertical format in a feed.
You can record and edit clips from 15 to 60 seconds, including trending music, as well as add filters or text. And the best part? Instagram reels are suggested to users based on their interests, making them a great way to explore new, relevant audiences.
How to create an Instagram reels
Since its inception, Instagram Reels has been an incredible way for brands and businesses to spread the word about their creative content. Also, it's a way for them to add a visual experience in addition to a grid post.
Step 1: Study and create your concept
You know as the saying goes, to fail to plan is to fail. So, it's important to create a plan, and a "skeleton" of what you want to create, so you don't miss any details.
Here are some questions to answer and get started:
-
What theme would make the most sense for your business or brand - fashion and style? Food recipes? Wellness tips?
-
Are there any interesting Instagram Reels trends that can help your brand?
-
How will content on Your Reels cohesive with your Instagram feed posts or stories?
-
Who is your target audience and what kind of content speaks to them? It can be tutorials, behind the scenes or a "day in the life".
From there, spend some time digging through the app and take stock of visuals, texts, trends, and aesthetics that you could use for inspiration.
Once you have a solid understanding of your direction, it will be possible to be sure what you are going to do in your reels. That way, you'll gain a visual understanding of how your reels will perform - and have a clear plan to work with!
Step 2: Create your Instagram reels
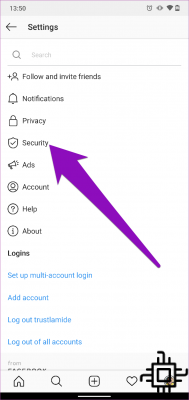
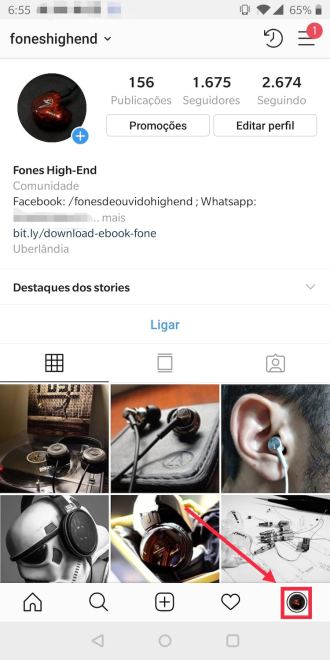
To create your first Instagram reels, tap the "+" in the top right corner of the home screen and select "reels".
NOTE: Reels can be recorded in a series of clips, in a single stream, or filmed externally and loaded. To add external clips from your camera roll to your Instagram rolls, select the "+" icon in the lower left corner.
To film internally in the Reels app, keep the recording circle in the middle of the screen. You can add music to your images by tapping the audio icon and searching for a song from the Instagram music library.
Or, use your own original audio by simply recording a reels with it. You can also select which part of a song you want to perform.
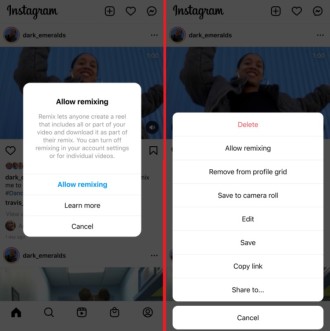
NOTE: When you share a reels with original audio, your audio will be assigned to you, and if you have a public account, users can create reels with your audio by selecting "Use audio".
From the left sidebar you will also have the option to choose the speed of your video (default is 1x), but there are options of .3x, .5x, 1x, 2x, 3x or 4x.
For hands-free shooting, enjoy the Instagram timer and countdown effect. In short, the timer lets you record any of your clips hands-free.
Once you press record, you will see a 3-2-1 countdown, before recording starts for the time you selected. You will also have the option to align your clips. This tool comes in handy when you're looking to create seamless transitions between moments in your footage.
To access effects, tap the three-star icon above the recording button. There, you can browse the Instagram effects gallery. To watch, trim or delete images, tap the back arrow and tap a clip to edit.
TIP: Instagram's algorithm doesn't prioritize visibly recycled content from other apps (like TikTok) as well as low-quality video content. So, it's the best practice to create your own content on Instagram.
Step 3: Preview and add additional effects
Once you're happy with the clips, tap "Preview". To bring your content to life, you can take advantage of Instagram's many effects.
PS If you're familiar with the effects of Instagram Stories, you'll recognize most of these tools:
-
Text: Say more by adding text to your reels.
-
Design: Use the drawing tool to add a little more flag.
-
Stickers: Include captions, GIFs, the weather and a plethora of fun Instagram stickers.
-
AR Effects: Search the endless gallery of Instagram AR effects created by Instagram and creators around the world.
-
Filters: Swipe left to access filters to add to rolls.
-
Audio: In case you missed it before, you can also add audio from Instagram's music library at this stage - in addition to recording a narration or adding sound effects.
TIP: Explore the trending audio on Instagram by going to the reels tab - make a scroll and watch all the tracks that have the "trend" arrow for the next clip.
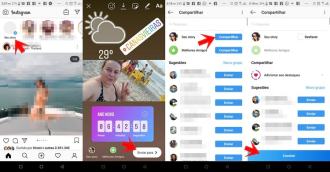
Step 4: Share your Instagram reels
Now it's time to share your creation! Tap "Next", choose a cover photo and write a captivating caption that speaks to your audience. From here, choose whether you would like to share your reels on Instagram Feed.
NOTE: We recommend sharing with Feed for the best reach.