Although Windows Defender is free antivirus software built into the Windows operating system, it is often recommended that you use a third-party antivirus program to ensure protection against viruses, rootkits, spyware, and other types of malicious files on your computer. But to use another antivirus, you need to disable Windows Defender on Windows.
And if you don't know how to do that, here we have a complete tutorial on how to disable Windows Defender. The operating system version I used for the tutorial is Windows 10, but the procedure on other Windows versions is quite similar.
How to disable Windows Defender in Windows 10?
Windows 10 offers the option to temporarily disable Windows Defender, but if you want to permanently disable your antivirus, check out one of the ways below.
1) Installing another antivirus
Windows Defender automatically runs on your computer, and the reason is obvious: Microsoft doesn't want you to use Windows 10 without protection. But the good news is that Windows Defender is automatically disabled when you install another antivirus service.
If you don't know which antivirus to download, check out our tips on antivirus paid and about antivirus free.
How to disable Windows Defender using Local Policy Editor
If you are using Windows 10 Pro or any other enterprise version such as Windows 10 Enterprise or Windows 10 Education, you can use the Local Group Policy Editor to permanently disable Windows Defender from your computer.
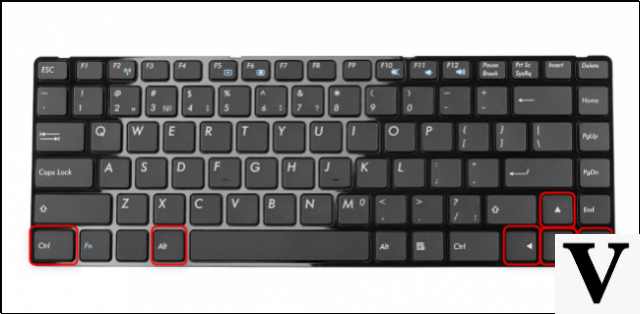
Step 1. Use the keyboard shortcut Windows + R key para abrir or command Execute and type gpedit.msc and click OK to open o Local Policy Editor;
Step 2. Please click C settingscomputer and then in Models Administrative;
Step 3. Please click Components to Windows;
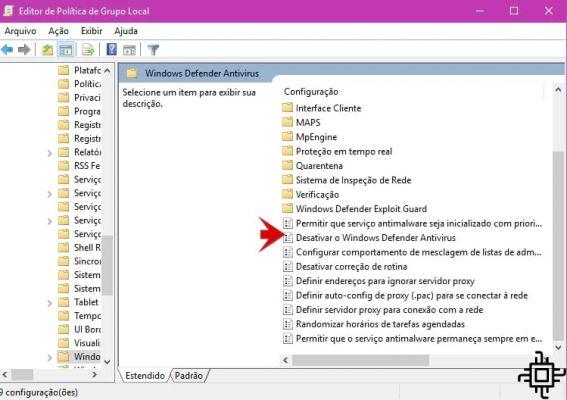
Step 4. Scroll down and click Windows Defend Antivirus;
Step 5. On the right, double-click Disable Windows Defender;
Step 6. Selecione Activated to disable Windows Defender and then click OK.
After completing the above steps, you will notice that the Windows Defender shield icon will continue to run in your system tray. To get rid of the icon, just restart your computer.
At any time, if you want to re-enable Windows Defender, you just have to follow the same steps, but this time in the step 6, select the option Not configured . Then restart the computer to complete reverting the changes.
How to Disable Windows Defender Using the Registry
If you are running Windows 10 Home, you will not have access to the Windows Local Policy Editor as it is only available for enterprise versions of the operating system. However, you can modify the registry to achieve the same result.
Important: Before following the steps below, it is important to note that editing the registry can be dangerous and cause irreversible system damage if you do not do it correctly. We highly recommend taking a full backup of your system before proceeding.
Step 1. Use the keyboard shortcut for Windows + R to open the Run command, type regedit and click OK to open the registry.
Step 2. Look for the HKEY_LOCAL_MACHINE and choose the option SOFTWARE;
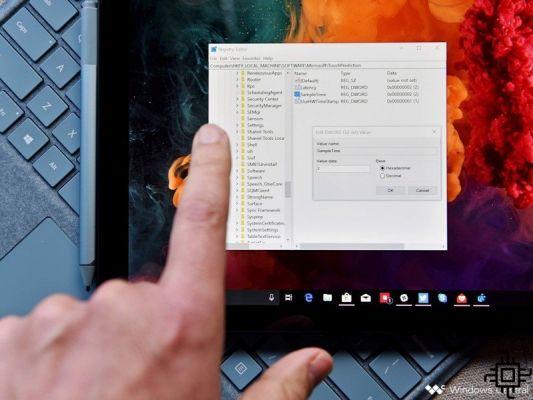
Step 3. Now click on Policies > Microsoft > Windows Defender, double click on DisableAntiSpyware and set the value of 0 to 1.
Important: If you don't find DisableAntiSpyware, right-click an empty space, select New and click DWORD value (32 bits). name the key DisableAntiSpywar.
Step 4. Restart your computer to complete the task.
At any time, if you want to re-enable Windows Defender, you just need to follow the same steps, but this time, change the value in the third step from 1 to 0 . Then restart the computer to complete reverting the changes.
How to Temporarily Disable Windows Defender
In case, you just want to temporarily disable Windows Defender, do the following:
Step 1. Open the configurações in the start menu;
Step 2.Please click Update and security;
Step 3. Please click Windows Security and then in Open Windows Defender Security Center;
Step 4. Turn off the enable switch for real-time protection.
While Windows Defender doesn't specify how long you can disable real-time protection, "temporary" usually means until the next time you restart your computer.
It is very important to note that we are not say that you shouldn't use an antivirus on your computer, but there are always situations when you might need to disable Windows Defender from your machine permanently.
If you came to this guide just because you don't like the antivirus that comes built in to Windows 10, you can always choose from several alternative antivirus software, which are sometimes better than Windows Defender.