Table of Contents
- basic preparations
- Configuring the Raspberry Pi
- Using Google Assistant
- Accessing audio settings
- The result after the complication
- Google Assistant + Alexa
Smart Speakers, or just Smart Speakers, are increasingly popular in the market. A movement that started with Amazon's AI Alexa now has representatives from multiple companies. However, the people at Beebom found a way to combine the Google Assistant and the Alexa into a more complete Smart Speaker.
The idea may even seem too complex, but its procedures are not so much. Thus, with a basic knowledge of programming and a complete guide of the programs and hardware to obtain everything becomes clearer. Check now the step by step of what it takes to combine the two Smart Speakers into one.
basic preparations
In Beebom's experiment, a first-generation Amazon Echo was used alongside a traditional Google Home. The idea, basically, is to combine the two systems into one, to have access to the best features of each of them combined.
First, let's list here what you'll need to link all the components into one. Check out the list below to find out what you'll need for the Google Assistant and Alexa combination:
- 1 Raspberry PI 3;
- 1 MicroSD card of 32 GB;
- 1 USB wall charger;
- 1 USB Hub with 3 or 4 ports;
- 1 USB-A / MicroUSB adapter cable;
- 1 USB microphone;
- 1 Portable speaker with auxiliary input;
- 1 keyboard and mouse for system configuration;
- 1 HDMI cable also for system setup.
With all these items in hand, you can start configuring everything. However, be very careful, as the configuration will start on the PC.
Configuring the Raspberry Pi
First, you need to configure the Raspberry Pi. For those who don't know, this is a computer reduced to the size of a credit card. It is possible to connect it to the TV, in addition to having inputs for keyboard and mouse. In this tiny PC, the hardware is all integrated into a single board, ideal for portable setups like the one we're about to do here.

To start configuring the Raspberry Pi 3 system, you need to download the information pack from their website (which you can access via this link). Use the MicroSD card to install the necessary files on the Raspberry Pi, then turn on the keyboard, mouse and HDMI to start messing with the system through a TV.
Then, through the Raspberry Pi 3, access the Amazon developer page to create an account (check this link). Here, just create an account on the service following the step-by-step instructions on the website. Don't forget to keep a note of both the security profile ID and the client's secret key.
Using Google Assistant
Now, with the account created through Raspberry already configured, we also need to create a Google developer account (which you access in this link). Just like the Amazon account, there's not much mystery here. Now create a new project to access Google Assistant.
For this project, download the .JSON files to credential a new customer in Google Assistant. Rename these .JSON files to “Assistent.JSON” and copy them to the Raspberry Pi's centrl folder. You will now start to reboot the Raspberry Pi, in addition to copying some of its source project files.

Next, you need to make the downloaded project files executable. No mysteries here, just type the command lines below to enable this:
sudo chmod +x /home/pi/Assistants-PI/prep-system.sh
sudo chmod +x /home/pi/Assistants-Pi/áudio-test.sh
sudo chmod +x /home/pi/Assistants-Pi/installer.sh
Accessing audio settings
With these commands executed in the staging system script, we were able to release some options. So we can configure the Raspberry Pi and Google Assistant audio. Choose the third option in the choices and restart the Raspberry Pi. With that done, check if the audio is working with the following command:
sudo /home/pi/Assistants-Pi/audio-test.sh
After that, install both Google Assistant and Alexa on Speaker. To do this, use the following line of code:
sudo /home/pi/Assistant-Pi/installer.sh
Soon after this process, some tasks to be done by script will appear. However, there is no need to be afraid of the script, as it will be quite simple. Here, just follow the instructions that will appear on the screen. Then authenticate Alexa and Google Assistant, following step by step that will appear.
It's important to note that Alexa authentication commands need to be run on separate endpoints.
The result after the complication
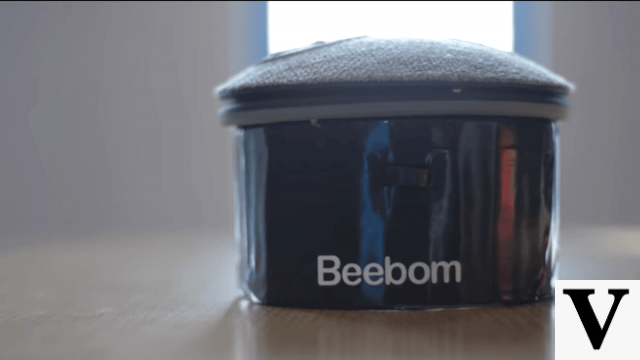
After all that is done, just restart the Raspberry and the combined Google Assistant and Alexa Smart Speaker is almost done. At least your “soul” is there, perfectly functional. However, it would be interesting to build a “cover” for your Smart Speaker, just like the people at Beebom did.
Your container can be made of cardboard, cardboard, thicker or more malleable sheets. An interesting way is to use the standard Smart Speakers on the market, the rounded one. So, just put the USB hub inside it to connect the Raspberry Pi and the speaker together.

Don't forget to place the speaker on top of everything for easier acoustics. With this, the Smart Speaker is also released to be connected with all possible smart resources in your home through the Alexa app. However, this method does not allow you to use the same functionality as Google Assistant. This is because only the Google Assistant API is used in the process.
Google Assistant + Alexa
The process is simple but very meticulous. Mainly for messing with script lines and basic programming, not everyone will be able to easily configure the system. However, its applicability is excellent. In addition to being able to use the Alexa program linked to your home, it is possible to access the Google Assistant API and even connect it to the internet.
It is also important to leave here the warning that the Beebom folks reiterated: sometimes Google or Amazon make changes to their APIs, which can cause the script to stop working. Fortunately, the developer of the original Smart Speaker idea is very present in discussion forums.
Check out Beebom's full video below, where you can see the Smart Speaker in action, as well as several extra links for more detailed information about the system setup process as a whole:


